
Black & White always has and always will play a crucial role in photography, yet when you talk to some people about the subject you would think it was some sort mystic art that was infinitively difficult to attain. It seems that this view sprung up when digital photography started to change our industry forever, with it no longer being a simple choice of buying your favoured black & white film, it become a process, a part of our editing….that seemingly off putting some photographers, especially those just finding their feet!!
I must confess to being one of those people when I started my photography journey, not really though a conscious choice, and as much as I enjoyed viewing this type of photography, it just was not something that ever tempted me to the ‘Dark Side’. All this changed for me a few years into my career after shooting along one of the UK’s many abandoned railways and stumbling across the rotting carcass of an old British Railways carriage. Managing to get the shot that I had envisaged, the editing process could not come quick enough, but rapidly led to frustration as ‘just right’ felt a long way off. It is then that I started to venture into black & white in an attempt to get the final image that I wanted, and it worked.
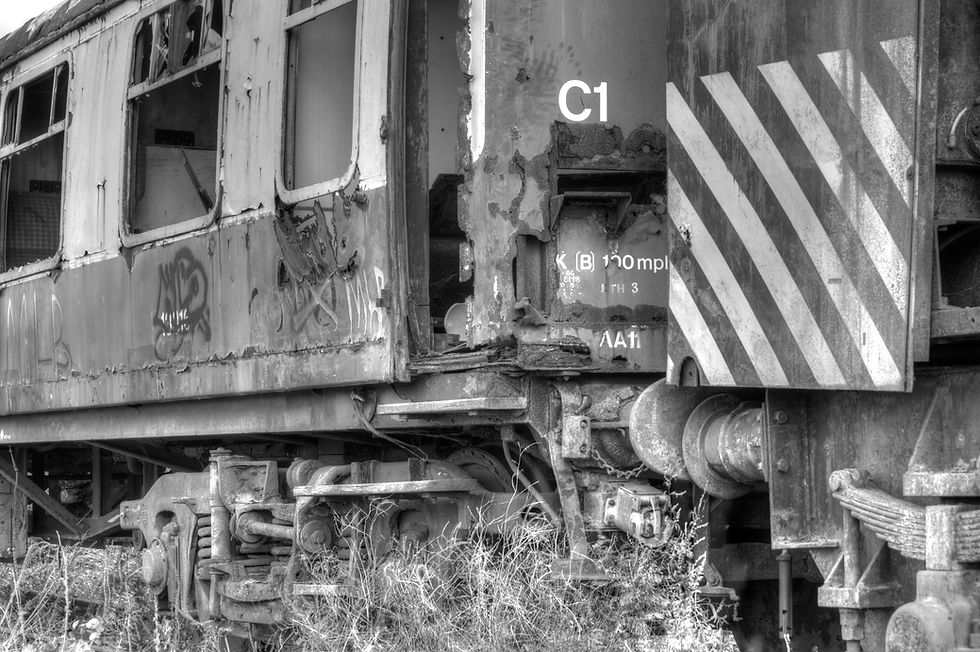
This image entitled ‘Railway in Decline’ was my first ever non colour image, and although my techniques and processes have improved over the years, it is still an image that I am proud of, not only because it’s what really started my love affair with this style of photography, but because it makes a statement about the state of the once great British Rail.

Over the years it has now become an essential part of my portfolio with it easily becoming some of my most popular work, which is always a welcome indicator that I am moving in the right direction with how I edit in this style. It is a constant learning curve much like any genre of the photographic arts, a tightrope of balance as you try and tease out just the right amount of contrast, detail, mood and atmosphere. Believe me it is worth the effort in the long run, especially as it works for almost all genres of photography, many of which I have tried to represent with the selected pieces scattered throughout this piece.
Everyone has a different approach to their work and the accompanying processes, there is no right or wrong way, for me personally I never go out thinking ‘I’m going to shoot black & white today’, as I feel this is going out with a restrictive / frame-worked approach. It always happens in the edit for me ( though most camera’s shoot black & white these days), this way all the variables from the field are out of the way, mistakes made if there are any, and what you have in front of you on the screen is what you have to work with, good or bad!
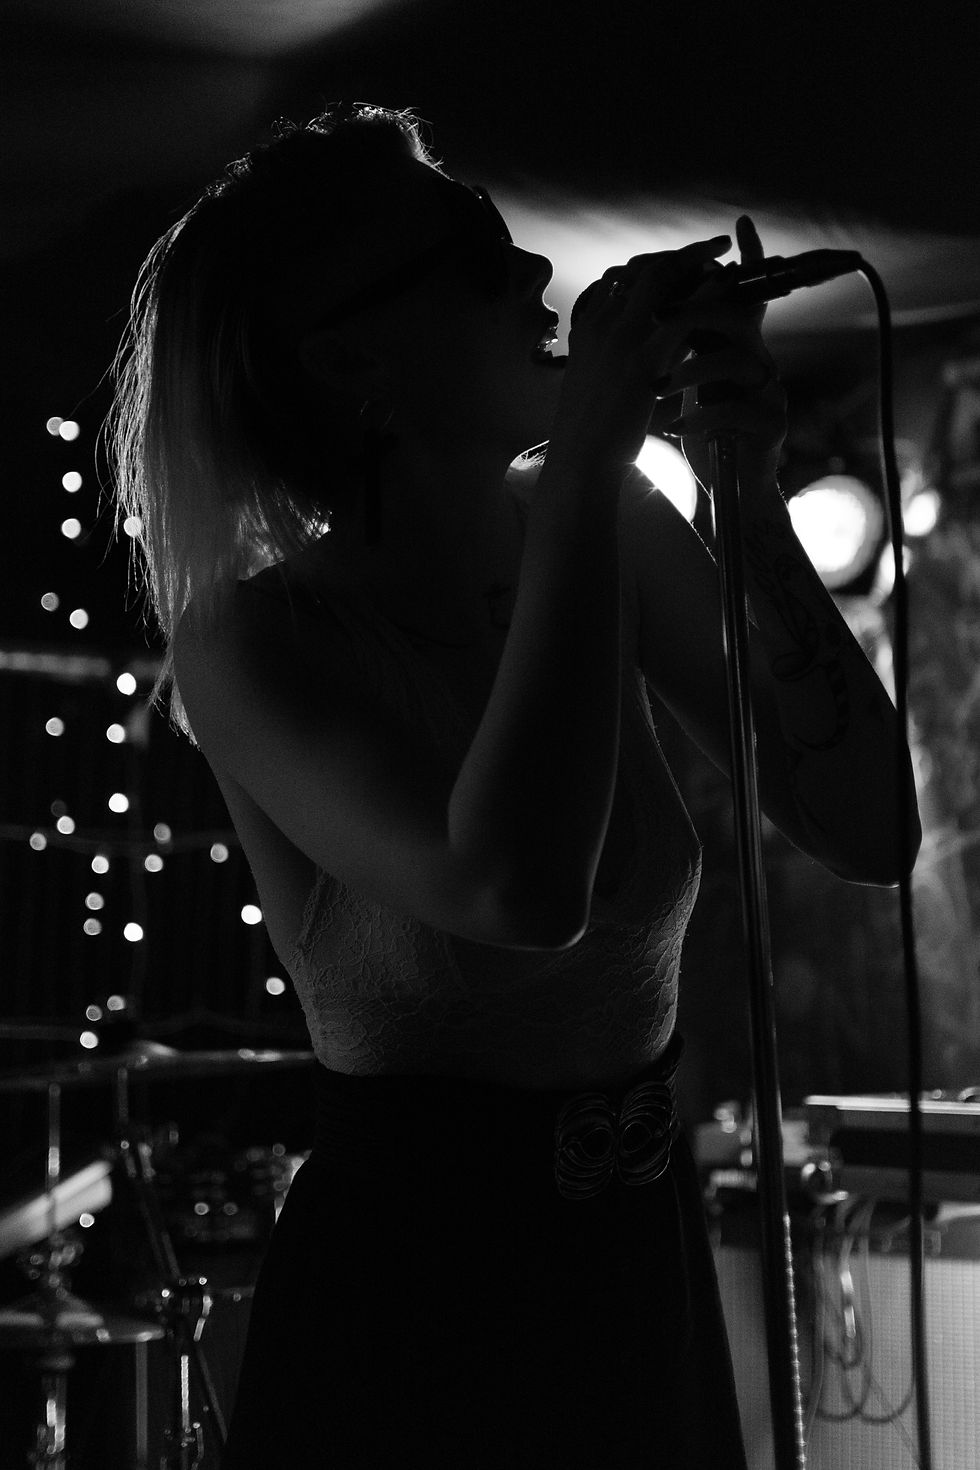
The great thing with working in this colourless world is that often mistakes can turn into the best images, with over or under exposure often creating amazing, stark contrasts that can work really well in live music captures or a dramatic landscape scene, it is so versatile.

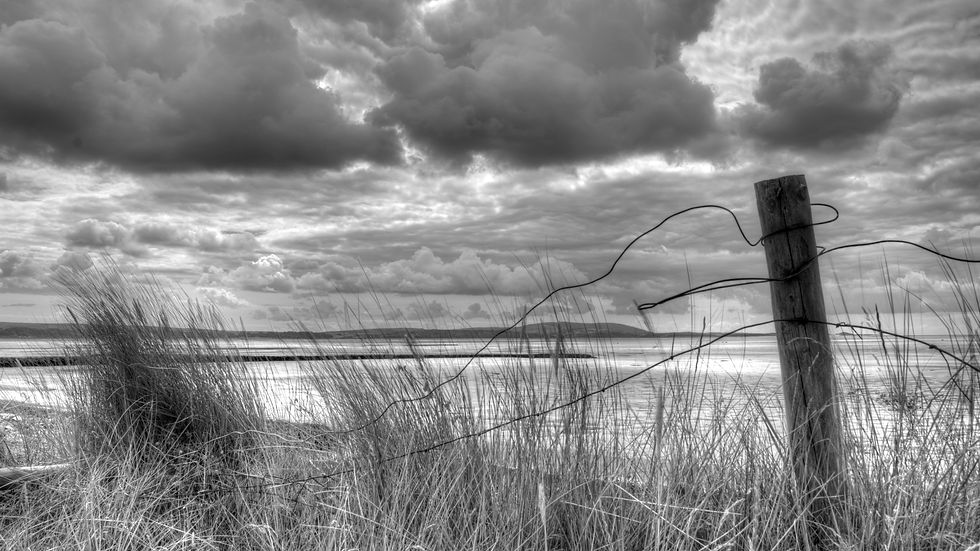
Something that I have found very useful as a starting point (only really suitable for landscapes) is bracketing and a good filter set. This is a subject of much debate, many choosing one or the other, but in my experience when using them combined, it is possible to draw out some amazing detail not possible otherwise. Bracketing is usually implemented to balance a tricky lit scene by expanding the dynamic range, though through experimentation I have found that by balancing the light in a scene first by using a filter, you then have a neutral starting point before then extending the dynamic range, with some wonderful results. It will be a debate that will no doubt rumble on, but from personal experience it is worth the effort.

So, with all that has been said it would be rude not to offer some advice on progressing your own black and white portfolio with some thoughts / tips on editing. Unfortunately, I can’t claim to be an expert on the subject being self-taught, but just a few little things picked up along my own personal journey…. I hope you find them useful.

Editing
Learn about Light: This may strike you as a bit obvious point, especially as photography is all about light, but the way light acts is probably even more important in black and white photography than anything else. Look at different styles of photography, draw on techniques used in other creative mediums like movies…. There is no greater source of useful inspiration than old black and white movies, those directors really knew how to use light to create atmosphere, use their knowledge!
Starting Point: Something that applies to both colour and non-colour image editing, and maybe considered common sense. I always crop and apply lens profiles before doing anything else, this gives me a starting point that offers a view of where the image will go as I start to edit, as you have your composition locked in.
Hello Contrast my Old Friend: Contrast is a vital component in all photography, and never more so than in black and white, think of it as the ‘Ying & Yang’ of photography. It allows you to really push the envelope and get away with it at times, adding mystery, drama and atmosphere in ways that would not ordinarily work.

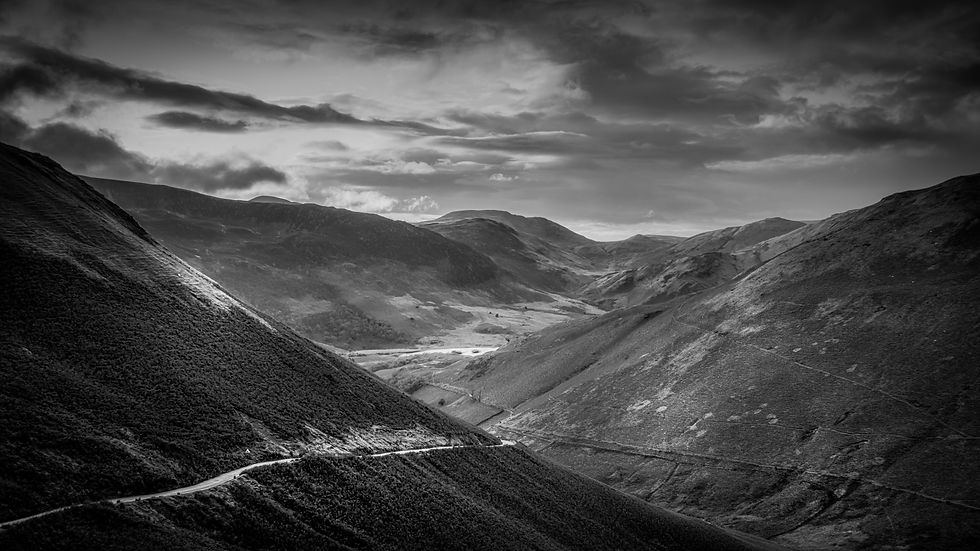
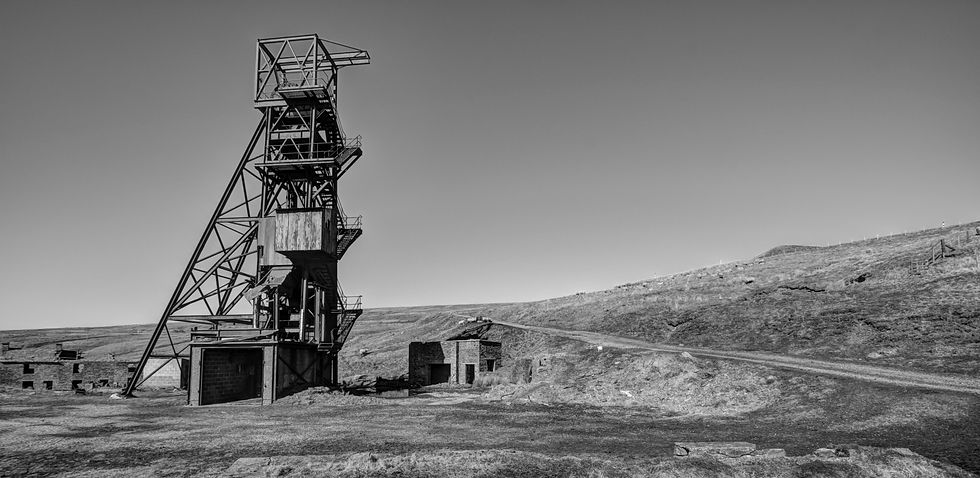
Vanishing Point: As photographers we employ different tactics as a way of drawing the viewer into the image, one of these is the use of leading lines. It is a very effective technique that can be further accentuated by dialling in the contrast and having a strong emphasis on the white for leading lines, on the right image it can work wonders.
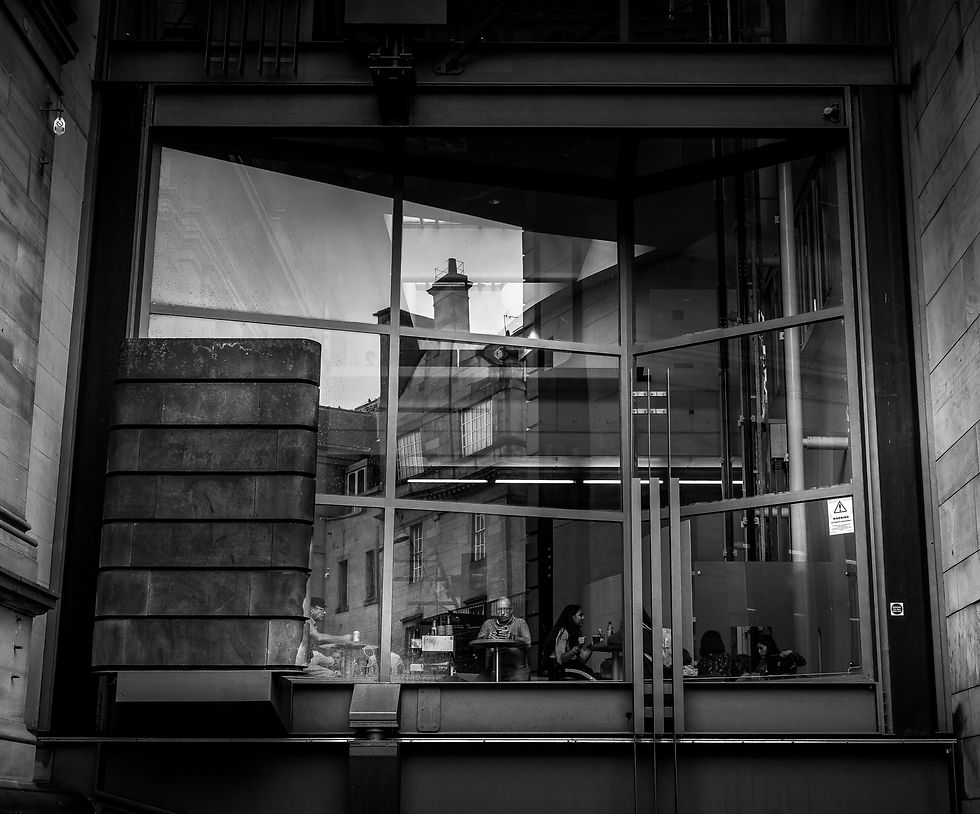
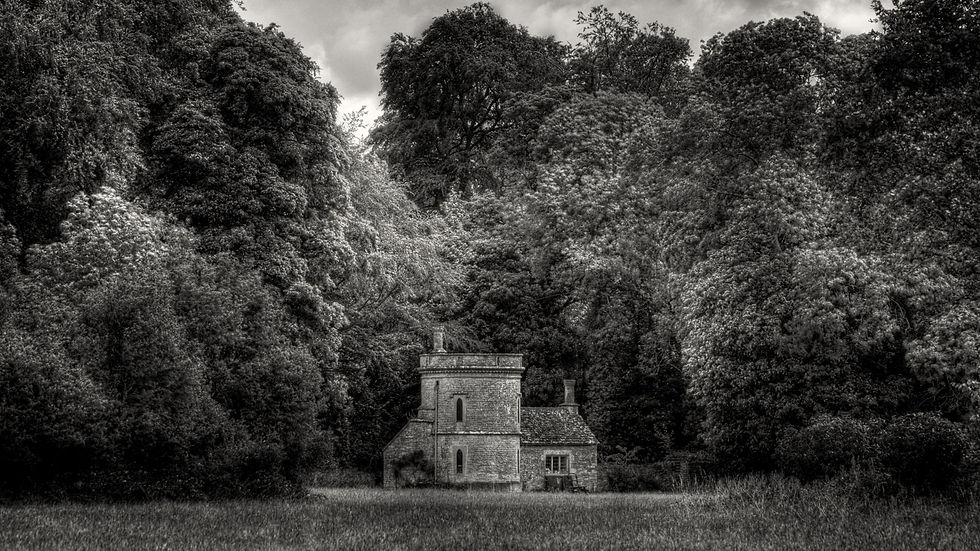
Subtlety: As an oppose to the previously mentioned contrast, treating your image with kid gloves and having a more reserved subtle approach can also provide rewarding images. This approach is particularly effective on a broad scene where you may have a structure or an individual item that you really want to stand out, it makes it pop with detail against a stark, flat background.
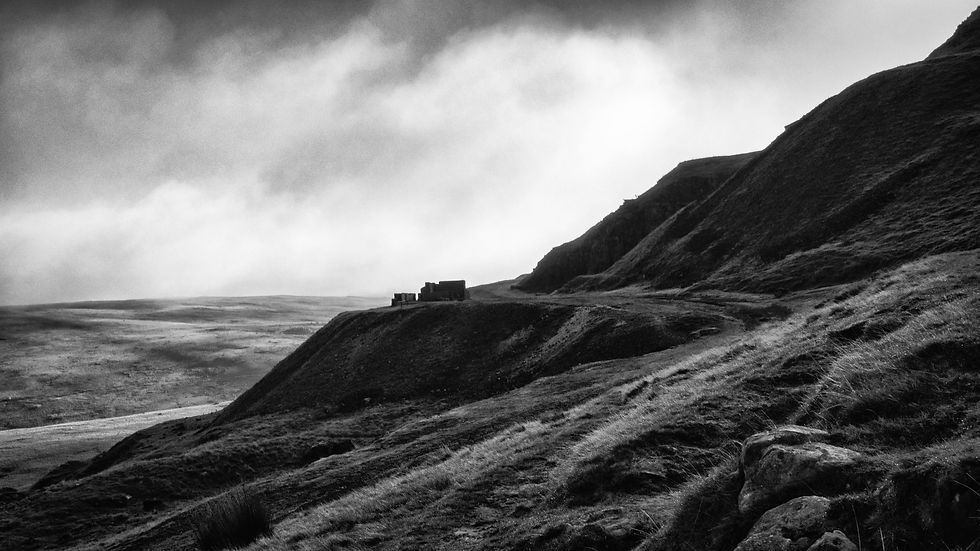
Sparks of Light: Much in the same way that subtlety can be employed to a whole image to accentuate certain areas, the same can be true of highlighting areas with light to pick out detail on a dark image. This can make your image feel more deeply personal to the viewer, very grounding and intimate even in a vast landscape.

Nobody Seems to Like Curves: Curves are your friend! No really, they are. Many people feel wary about adjusting the curve bar in their chosen software, but even small adjustments can make big differences to your images, making blacks darker and richer, whites more vibrant, and in a way that maybe difficult to achieve using other methods. If you are still worried, then just make a copy of the image you are editing and dive in and have a play, there is nothing to lose, only an image to gain.
Software
Lightroom: Pretty much the go to software for most photographers, and although it carries a monthly subscription and can be limited in certain areas, I find it an essential and versatile tool for most aspects of image editing.
Aurora HDR: This can be purchased for around £90 at the time of writing, and quickly become a crucial part of my workflow. For your purchase you get a standalone product and a plug-in for Lightroom, giving you impressive versatility using both methods. Great results can be achieved using bracketed images, or even from a single image, giving you a better starting base than photo merging in Lightroom. You also get a comprehensive array of editing tools, so although I personally use this in conjunction with other software, good results are possible when using it as a standalone package.
Nik Silver Efex Pro: This software has a bit of a strange history! Google purchased a suite of image editing software known as the ‘Nik Collection’ from an independent developer, allowing them to dip their toe into the photographic editing market. Initially released for about £150, it did not take Google long to lose interest and quickly made the software suite available for free, but at the same time announcing that there would be no future updates! (this is the version I personally use). Roughly a year later the software collection had be sold to a company called DxO, who updates and maintains it to this day, but will cost you in the region of £100. Anyway, ‘Silver Efex Pro’ that is part of this editing suite is probably the best black and white editing tool on the market, that can also be used as a stand alone or as a plug in for Lightroom much like the aforementioned Aurora HDR. This software is simple to use, extremely versatile and can get you some incredible results, if black and white photography is a large part of your work, then I can’t recommend this highly enough, truly an essential tool!
To sum up, I hope you can see from the work presented here as part of this post that ‘Black & White Photography’ can be a very versatile method of creating wonderfully atmospheric images, allowing you to use the technique across all genres of photography, from Landscape to Street, Gig to Urban Exploration… the world is your oyster. I hope that you have found some of the information useful, and able to employ some pieces within your own colourless photographic world.
Scott Read
コメント